Due to the regular water pressure problems, it’s common to have a leaking mixer tap in Singapore. That could lead to hefty utility bills, loss of water, and also the inconvenience of cleaning up the water every single hour. This is why you need to learn how to fix a leaking mixer tap in Singapore.
You don’t need to hire any professionals to do that for you. You can do it all by yourself at home by following the guide that we’ll be giving you in this article. Stay around until the end so that you can reduce your utility bills and also preserve water. LS Plumber Singapore also offers UPVC pipe repair, shower tap installation, and PPR pipe leak services in Singapore.
How to Fix a Leaking Mixer Tap in Singapore?
A leaking mixer tap not only looks bad, causes inconvenience, and can lead to hefty utility bills, but it can also be unsafe for the elderly and kids.
For that reason, read this guide to fix a leaking mixer tap in Singapore all by yourself, without needing any professional help. Let’s get to the steps now.
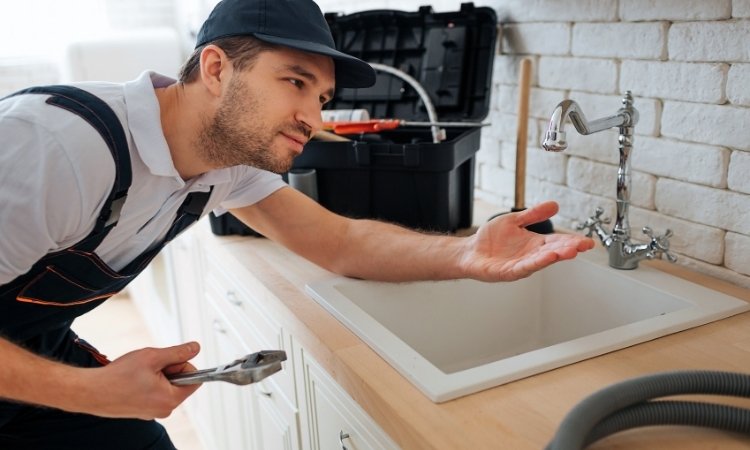
Turn Off the Water Supply
Fixing the leaking mixer tap will be extremely difficult if you leave the water supply on. The water will soak your clothes and increase the chances of making mistakes and causing damage.
To avoid that, stop the water. Find the small valves under the sink and turn them clockwise until they’re tight.
This will stop the water from spilling and help you focus more on fixing the tap than protecting yourself from water.

Close the Drain and Cover the Sink Area
Next, cover the sink drain. A small screw falling down there is like saying goodbye forever. Use a cloth or plug to block it.
Lay another towel around the sink to catch parts or tools if they slip. If you follow this step, you won’t get frustrated later on. Also, you’ll be working with confidence and without losing anything important during the process.
Remove the Mixer Tap Handle
Look for a small cap on the tap handle. Use a flat screwdriver to gently pop it off. Inside, you’ll find a screw holding the handle.
Unscrew it and pull the handle up. If it feels stuck, twist it side to side slowly. Don’t force it. This step opens the way to the inside, where most leaks usually start.
Take Out the Cartridge or Washer
Now you’ll see a nut holding the cartridge or washer. Use a wrench to loosen it carefully. Once it’s loose, pull the part out slowly.
Look for damage like cracks or worn rubber. If it looks old, replace it. This part is often the main reason the tap leaks. Without fixing this, the leak won’t stop at all.
Clean the Inside of the Tap
Before you place the new part, clean the inside of the tap. If you don’t clean it and let the grime, mineral buildup, and dirt in it, you’ll soon have another leak.
To avoid that, get a soft cloth or an old toothbrush and then wipe off all the dirt, grime, minerals, or oil with it.
Make sure you clean the inside of the tap completely until it’s neat and doesn’t have any sort of impurities.
That will ensure that you don’t get frequent leaks and also it’ll give you a clean surface to work on.
Install the New Washer or Cartridge
Get the new part now and then place it exactly where the old one was. Make sure the part fits tightly and evenly.
Tighten the nuts back using a wrench, but make sure that you don’t over tighten as that could lead to damage.
Tight enough is good enough. A wrong fit or loose placement will keep the leak going. So double-check everything is straight and firmly secured before moving on.
Reattach the Tap Handle
Once the cartridge is in, it’s time to put everything back. Slide the handle on top and screw it back into place. Then snap the cap back on.
Focus on the handles and make sure they’re turning smoothly without grinding to anything. If you feel something is off, stop and check again. A proper reassembly ensures your tap not only works but looks neat too.

Turn the Water Back On and Test the Tap
Finally, turn the valves back on slowly. Watch the tap carefully as the water flows. If no leaks appear, you’ve done it right. Now open and close the tap a few times. Try both hot and cold settings.
Check for drips. If everything stays dry, the job’s done. If not, go back and recheck the parts. That’s how you know it’s sealed.
Final Words
How to fix a leaking mixer tap in Singapore? Turn off the water supply by closing the valves under the sink, then open the tap to drain out any remaining water.
Cover the drain with a cloth to catch small parts, and place a towel around the sink to avoid losing anything.
Remove the tap handle by unscrewing it, then gently lift it off. Take out the old cartridge or washer with a wrench, clean the inside thoroughly.
Fit in the new cartridge, tighten it firmly, reattach the handle, turn the water back on slowly, and check for leaks.