Install a wash basin in your bathroom and enjoy the functional and aesthetic benefits. Although installing a wash basin may seem daunting, with the right tools and a bit of patience, it can be straightforward. However, you need some instructions and tools to execute the installation process properly. This guide will walk you through each step from start to finish.
Install a Wash Basin in Singapore
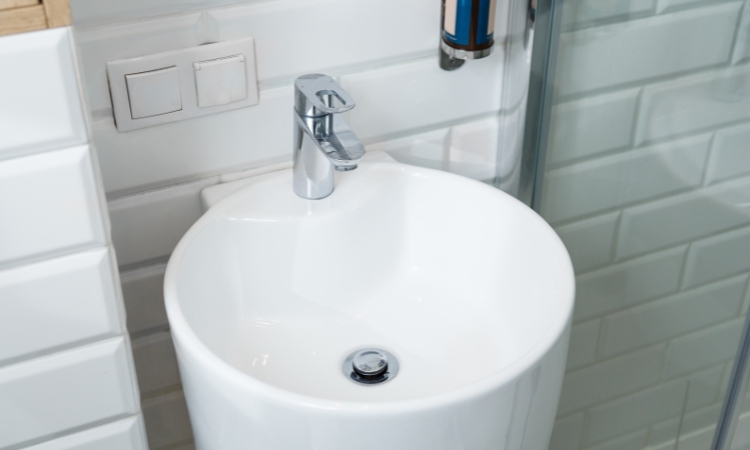
A wash basin is an essential fixture in every bathroom. It serves both functional and aesthetic purposes, providing a place to wash hands, brush teeth, and perform other daily hygiene routines. In Singapore, where modern, sleek bathroom designs are popular, installing a wash basin correctly is crucial for both functionality and style. This subsequent section will provide clear, easy-to-follow instructions on wash basin installation in Singapore.
Equip Yourself with the Right Tools
Before you begin, gather the following tools and materials:
- Wash basin
- Basin mixer tap
- Pop-up waste
- Bottle trap
- Flexible hoses
- Basin fixing bolts
- Pipe wrench
- Adjustable spanner
- Screwdriver
- Silicone sealant
- Measuring tape
- Pencil
- Spirit level
- Drill and appropriate drill bits
- Safety goggles and gloves
Step-by-Step Installation Process
1. Choose the Right Location
Select a suitable location for your wash basin. Consider the height and ensure it is comfortable for all users. Typically, the top of the basin should be about 80-85 cm from the floor. Make sure the location is near the existing water supply and drainage pipes to simplify the installation process.
2. Prepare the Wall
Mark the positions for the fixing bolts on the wall using a pencil. Use a spirit level to ensure the marks are level and evenly spaced. The distance between the bolts should match the mounting holes on the back of the basin.
3. Drill the Holes
Put on your safety goggles and gloves. Using a drill and the appropriate drill bits, drill holes at the marked positions. Be careful to drill straight and to the correct depth. Insert wall plugs into the holes to provide a secure anchor for the fixing bolts.
4. Install the Fixing Bolts
Screw the fixing bolts into the wall plugs, leaving enough of the bolt protruding to support the basin. Ensure the bolts are secure and level.
5. Mount the Wash Basin
Carefully lift the wash basin and place it onto the fixing bolts. Check that it is level and adjust if necessary. Tighten the nuts onto the fixing bolts to secure the basin to the wall. Be careful not to overtighten, as this could crack the ceramic.
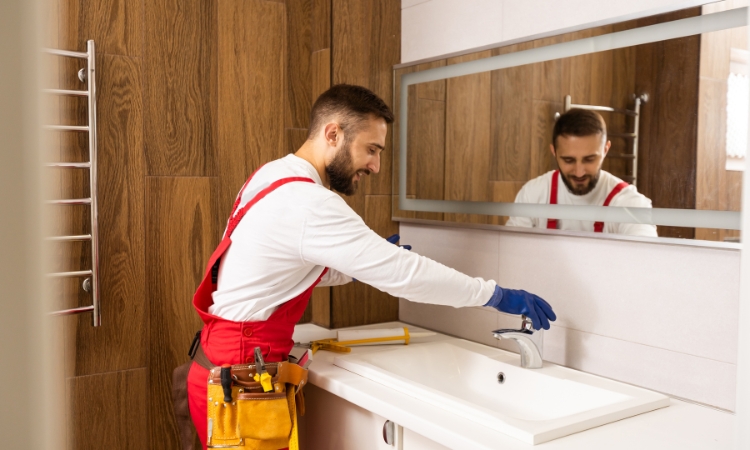
6. Install a Wash Basin Mixer Tap
Follow the manufacturer’s instructions to install the basin mixer tap. This usually involves inserting the tap into the pre-drilled hole in the basin and securing it with a nut underneath. Connect the flexible hoses to the tap.
7. Fit the Pop-Up Waste
Insert the pop-up waste into the drain hole of the basin. Apply a bead of silicone sealant around the edge to ensure a watertight seal. Secure the waste in place according to the manufacturer’s instructions.
8. Attach the Bottle Trap
Connect the bottle trap to the pop-up waste. The bottle trap is the part of the plumbing that prevents unpleasant odors from coming back up the drain. Ensure all connections are tight and secure.
9. Connect the Water Supply
Connect the flexible hoses from the basin mixer tap to the existing water supply pipes. Ensure you connect the hot and cold water lines correctly. Use an adjustable spanner to tighten the connections, but be careful not to overtighten and damage the hoses.
10. Check for Leaks
Turn on the water supply and check for any leaks. If you find any, tighten the connections until the leaks stop. Run water through the basin to ensure the drainage system works properly, and there are no leaks from the pop-up waste or bottle trap.
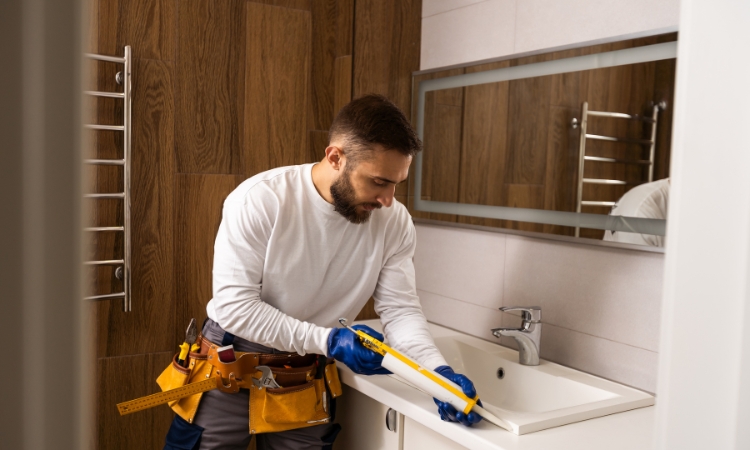
11. Seal Around the Basin
Apply a bead of silicone sealant around the edges of the basin where it meets the wall. This will prevent water from seeping behind the basin and causing damage to the wall. Smooth the sealant with a wet finger or a sealant finishing tool for a neat finish.
12. Final Inspection
Conduct a final inspection to ensure everything is securely in place and functioning properly. Check that the basin is level, the tap is working, and there are no leaks. Moreover, upon facing any issues, note that LS Plumber Singapore offers water pipe leak repair, kitchen sink taps, sink pipe repair, etc.
Conclusion
It can be a rewarding DIY project to install a wash basin that enhances the functionality and appearance of your bathroom. By following this step-by-step guide, you can ensure a successful installation that will serve you well for years to come. With patience and attention to detail, you’ll have a beautifully installed wash basin that meets your needs and adds a touch of elegance to your bathroom.