It’s an exciting yet challenging DIY task to fix a toilet tank leakage. The toilet tank leakages can lead to water wastage, higher utility bills, and potential damage to your home. In Singapore, where water conservation is essential, promptly resolving toilet tank leaks is crucial.
It would help if you had a planned strategy to do the task and simultaneously require great attention to detail during the execution. Therefore, this step-by-step guide provides homeowners in Singapore with practical instructions on how to fix a toilet tank leakage, ensuring efficient water usage and preventing costly water damage.
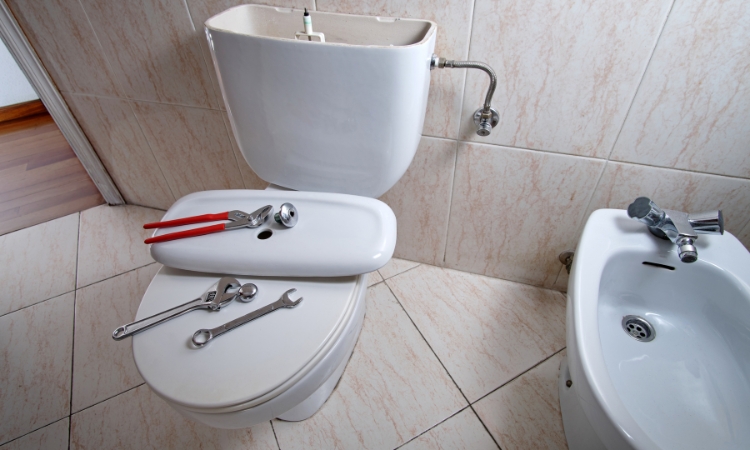
Toilet Tank Leakage Repair Singapore
If you are a homeowner and facing the abovementioned problem, you can now fix a toilet flush tank leakage yourself by following the steps explained in this section. However, Leaky toilet tank repair is not as easy. Therefore, execute the steps to fix toilet tank leaks efficiently. If you are unsure about any of the steps, hiring a professional like LS Plumber Singapore is not a costlier option.
Identify the Leakage
The first step to fix a toilet tank leakage is to identify the source of the leak. Common areas where leaks occur include the tank-to-bowl connection, the toilet flapper, and the tank bolts. Check for water puddles around the base of the toilet and listen for the sound of running water to pinpoint the location of the leak. Additionally, you can add a few drops of food coloring to the toilet tank and wait to see if the colored water seeps into the bowl, indicating a leak.
Turn Off the Water Supply
Before starting any repair work, it’s essential to turn off the water supply to the toilet. Locate the shut-off valve, usually located behind or near the toilet, and turn it clockwise to shut off the water flow.
Flush the toilet to drain the water from the tank and bowl. Furthermore, use a towel or sponge to soak up any remaining water in the tank. This step prevents water from continuing to leak while you work on the repair.
Inspect the Tank Components
Once the water supply is turned off and the tank is empty, inspect the various components of the toilet tank for signs of damage or wear. Check the tank bolts, washers, and gaskets for corrosion or deterioration.
Examine the toilet flapper for any cracks or deformities that may be causing the leakage. You also need to check the fill valve and float assembly for any signs of damage or malfunction.
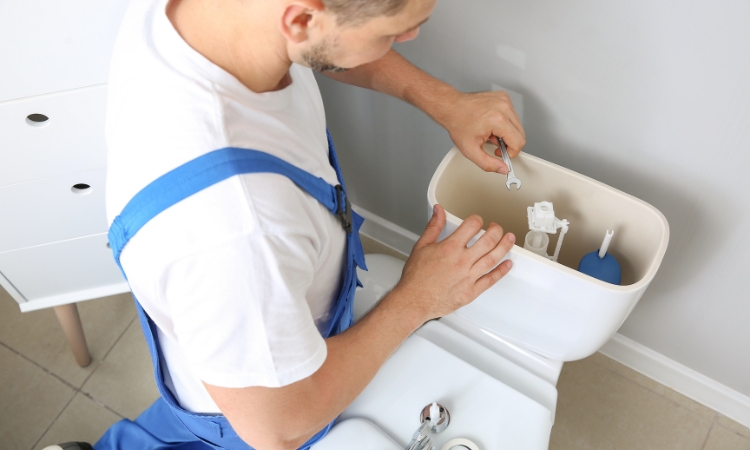
Replace Damaged Parts
If any components of the toilet tank are damaged or worn out, you will need to replace them to fix the leakage. Start by replacing the tank bolts, washers, and gaskets if they show signs of corrosion or deterioration.
Next, replace the toilet flapper if it is cracked or damaged. Make sure to use high-quality replacement parts to ensure a reliable repair. Additionally, if the fill valve or float assembly is faulty, consider replacing them as well to prevent future leaks.
Adjust the Tank Water Level
Sometimes, a toilet tank leakage can be caused by an improperly adjusted water level. Check the water level in the tank and adjust it if necessary. Most toilet tanks have a water level adjustment screw or float arm that can be adjusted to control the water level.
Follow the manufacturer’s instructions to adjust the water level to the recommended height. An incorrect water level can cause the tank to overflow, leading to leakage.
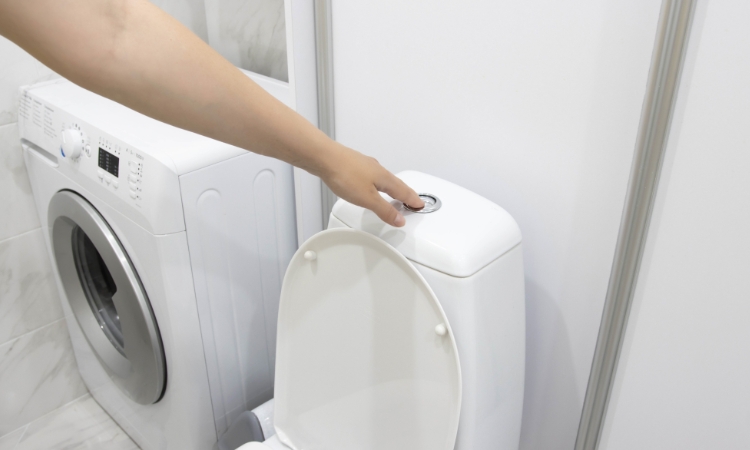
Test for Leakage
Once you have replaced any damaged parts and adjusted the water level in the tank, it’s time to test for leakage. Turn the water supply back on and allow the tank to fill up. Once the tank is full, flush the toilet and observe for any signs of leakage around the tank and bowl connections.
If no leakage is detected, the repair is successful. However, if you still notice leakage, check the components and ensure they are properly installed and working.
Monitor for Continual Leakage
When you finish fixing toilet tank leakage, it’s essential to monitor the toilet for any signs of continual leakage. Check for water puddles around the base of the toilet and listen for the sound of running water.
If you notice any signs of leakage, repeat the repair process or seek professional assistance if needed. Continual leakage can indicate underlying issues that require further attention to prevent water damage and ensure efficient water usage.
Maintenance Tips
To prevent future toilet tank leaks, ensure the implementation of regular maintenance practices. Inspect the toilet tank components periodically for signs of wear or damage and replace them as needed. Furthermore, clean the toilet tank and bowl regularly to remove mineral deposits and debris that can affect the performance of the toilet.
Finally, educate household members on water-saving habits, such as avoiding flushing unnecessary items down the toilet and fixing toilet tank leaks promptly to conserve water and reduce utility bills.
Conclusion
It is a relatively straightforward process to fix a toilet tank leakage in Singapore that can be completed with basic tools and DIY skills. By following this step-by-step guide, homeowners can identify and resolve toilet tank leaks promptly, ensuring efficient water usage and preventing water damage to their homes.
If you face any difficulties during the repair process or if the leakage persists, don’t hesitate to seek assistance from a qualified plumber to ensure a proper and lasting repair. Taking proactive steps to address toilet tank leaks helps conserve water and contributes to a healthier and more sustainable living environment in Singapore.