
It is a relatively easy job to fix a clogged sink, but it needs some basic plumbing knowledge. The inconvenience occurs when water does not drain properly, leading to frustration. However, it’s not worrisome, as resolving this issue is often more straightforward than it might seem.
This step-by-step guide will walk you through seven easy steps to aid you in efficiently and quickly fixing a clogged sink and restoring streamlined water flow to your kitchen or bathroom. If you are affected by a clogged sink and want to find a clogged sink service in Singapore, this article is just for you.
Steps to Fix a Clogged Sink
This section will elaborate on the step-by-step process to clear a clogged sink, and you should read it until the end. There are a few basics before jumping onto unclog a sink. These basics include gathering the required tools and materials before starting the process. Tools and materials are necessary in the repair work of a blocked sink. Moreover, turn off the sink’s water supply; if you do not find a dedicated tap for that, you should turn off the main water supply.
Step 1: Assess the Severity of the Clog
Understanding the nature and severity of the clog is the first important step in resolving the issue effectively. Determine whether the water drainage could be faster or completely blocked. Slow drainage might hint towards a partial blockage that could be resolved with more straightforward methods, while a complete blockage may need more extensive measures. This initial assessment will guide your way forward, allowing for a more targeted and long-term solution.
Step 2: Fix a Clogged Sink with Standing Water
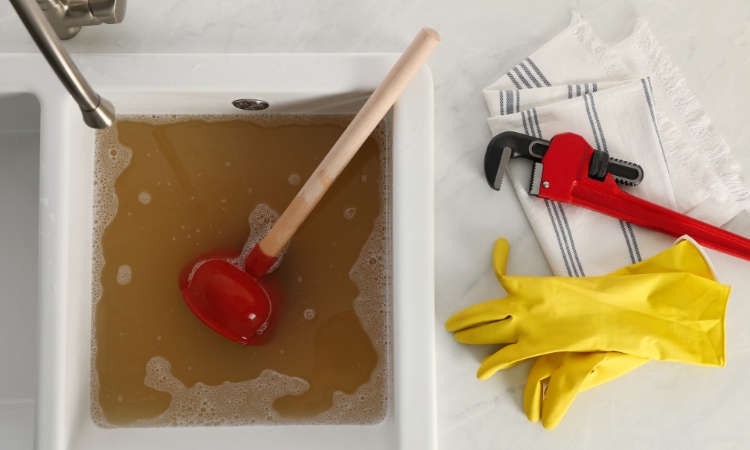
Start the process by removing standing water from the sink. Use a bucket or a bowl to scoop out as much water as possible. This creates a clearer workspace and provides better access to the clog. It is advisable to wear gloves to protect your hands during this process. Removing standing water ensures that your efforts for this process are focused on the clog itself rather than dealing with excess water.
Step 3: Plunge the Drain
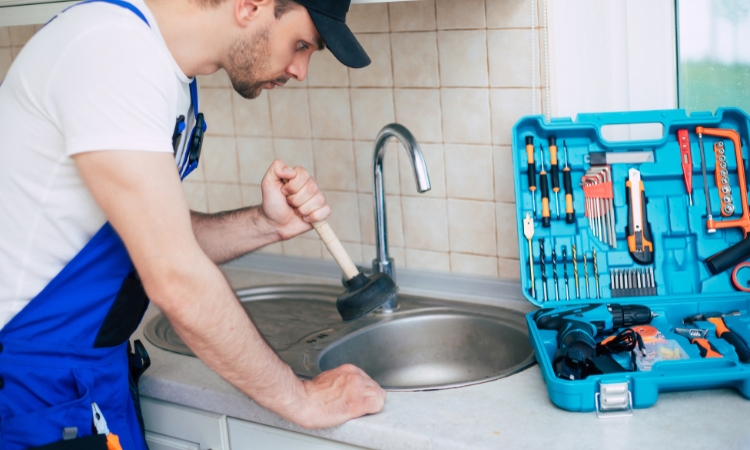
You might still have a plunger if you still need another DIY tool. A plunger is a classic yet powerful tool for unclogging sinks. Place the plunger over the drain, ensuring a tight seal, and actively pump up and down. The pressure created by this action can dissolve the clog. Repeat the process several times, and you will observe improved water drainage if you succeed.
It’s better to block the other drain openings for kitchen sinks to ensure effective plunging. Because the debris in the kitchen sink is usually made up of organic materials, this plunger method is particularly effective for organic material or debris causing the clog.
Step 4: Use a Plumbing Snake
This is an advanced method to settle the clogging issues. Consider using a plumbing snake, also known as an auger, for stubborn clogs that plunging cannot resolve. The plumbing snake is a flexible tool that can pass through the pipes to reach and dissolve clogs. Insert the snake into the drain and rotate the handle clockwise. The design of the snake sets it to break up or retrieve the clog. Take care while using this method to prevent damage to the pipes.
Step 5: Use a Natural Drain Cleaner
You may require a natural drain cleaner if you have tried the above-described methods and none are working. Combine baking soda and vinegar in equal parts and pour the mixture down the drain. Baking soda, a mild abrasive, combines vinegar to create a quick-dissolving action to help break down and dislodge the clog. Allow it to settle for approximately 15 minutes before following up with hot water to flush away the debris. This is an eco-friendly solution and is effective against organic materials causing clogs.
Step 6: Clean the P-Trap
If you are working to fix a clogged sink disposal, you should look for the P-trap. The P-trap is a curved pipe underneath the sink and is often a haven for clogs due to suspended debris. Place a bucket under the P-trap to catch any water, then use pliers to loosen the slip nuts and dismantle the trap. Clean out accumulated debris, rinse the trap, and reconnect the components. The P-trap is a common location for grease, soap residue, and hair buildup, making regular cleaning essential for preventing clogs.
Step 7: Check the Vent Pipe
Sometimes, sink drainage issues can be due to a clogged vent pipe. The vent pipe is crucial in maintaining proper air pressure in the plumbing system, facilitating smooth drainage. Identify the vent pipe on your roof and inspect it for visible debris or obstructions. Safely eliminate any debris using a gloved hand or a small tool. Ensuring the vent pipe is clear allows for proper ventilation and can mitigate drainage problems.
Conclusion
In conclusion, you do not need any professional assistance or degree to fix a clogged sink. Following these seven comprehensive steps, you can resolve the issue promptly and restore optimal functionality to your sink. Additionally, implementing regular maintenance practices, such as using drain screens to avoid debris buildup, can help prevent future clogs.
Remember to exercise caution and wear protective gear to ensure a safe and successful resolution to your clogged sink. Taking active measures and adopting these strategies can empower homeowners to tackle sink clogs confidently, minimize disruptions, and promote a smoothly functioning household plumbing system.